
A popular custard dessert among Latinos and is always on the menu for festivities and celebrations.
I consider this custard dessert to be the easiest to make and teach passing down traditions. I have noticed throughout the years there are two variations, the soft custard, and the dense version. I love the soft custard and the recipe below shows you how to make it.
• Bowls
• Whisk (or hand blender)
• (2) Two Pots
• Measuring Cup
• Baking Pan/Glass Pan (you can also make individual ones using aluminum/ramekin cups)
• Water Bath Pan
• Candy Thermometer (optional)
Pre-heat oven to 375F.
Gather all your ingredients (mis en place).
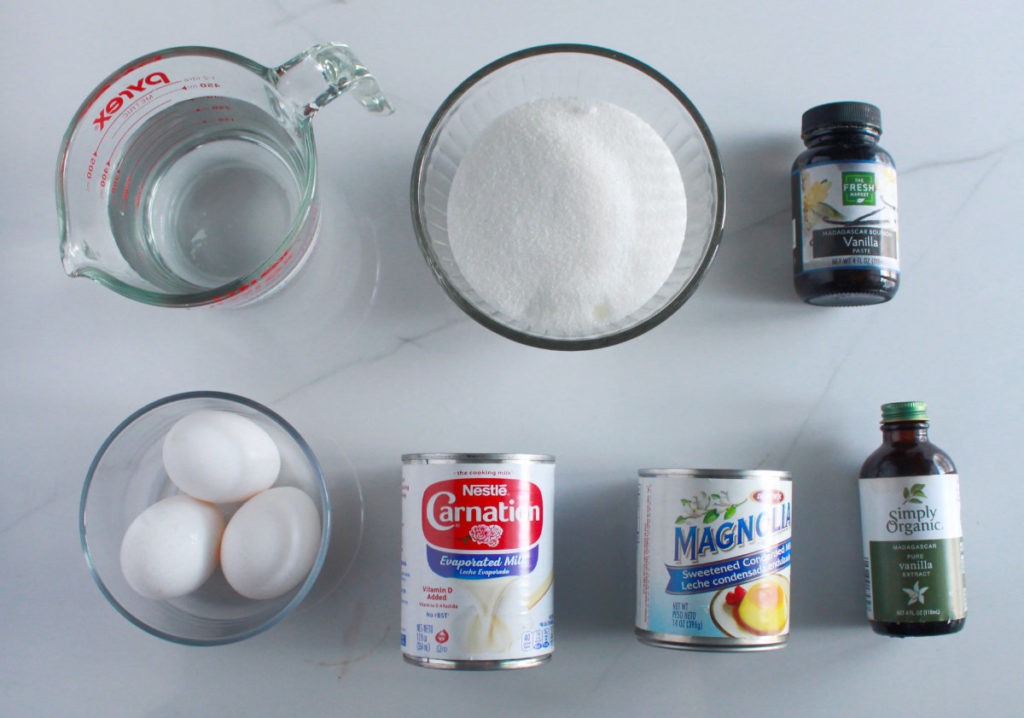
Let's make the caramel first! Firstly, pour the water into the pot and then the sugar.
Add the vanilla bean paste or vanilla pod.
Tip: If there is sugar that is stuck on the sides and hasn't melted into the water yet during the boiling stage. Dip a pastry brush into a cup of water and brush along the sides of the pan to melt the sugar before it caramelizes. This prevents sugar from crystallization and having a grainy caramel.
*See additional tips at the end to make more caramel syrup*
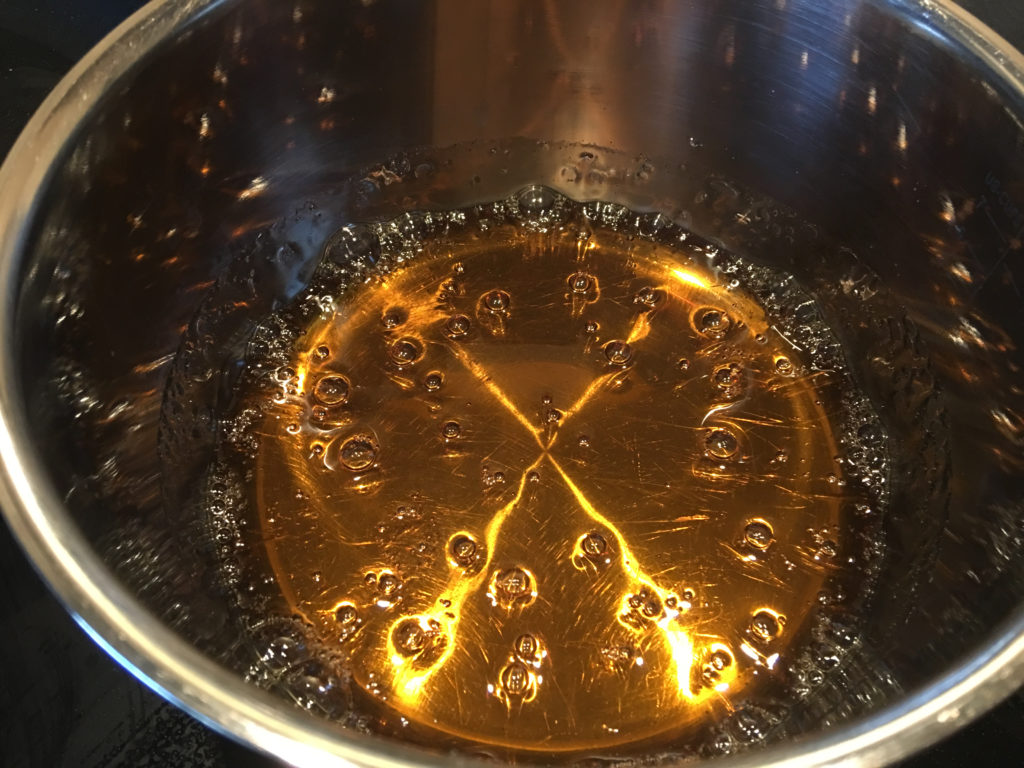
Boil on medium-high heat until caramelized (amber color) or to 250F.
Takes up to 10 minutes. DO NOT leave pot alone. It can caramelize quickly once it starts to change color.
Once it turns into a light amber color, leave it on the stove for about 45-60 seconds to get that perfect amber color (or you can check the temperature).
Remove from heat.
Tip: Don't wait until it gets too dark, the caramel will continue to darken on its own when removed from heat.
Once the sugar is caramelized, pour it into the pan.
Carefully tilt the pan side to side to cover the whole pan before it cools and thickens.
Set aside to cool while you make the custard.

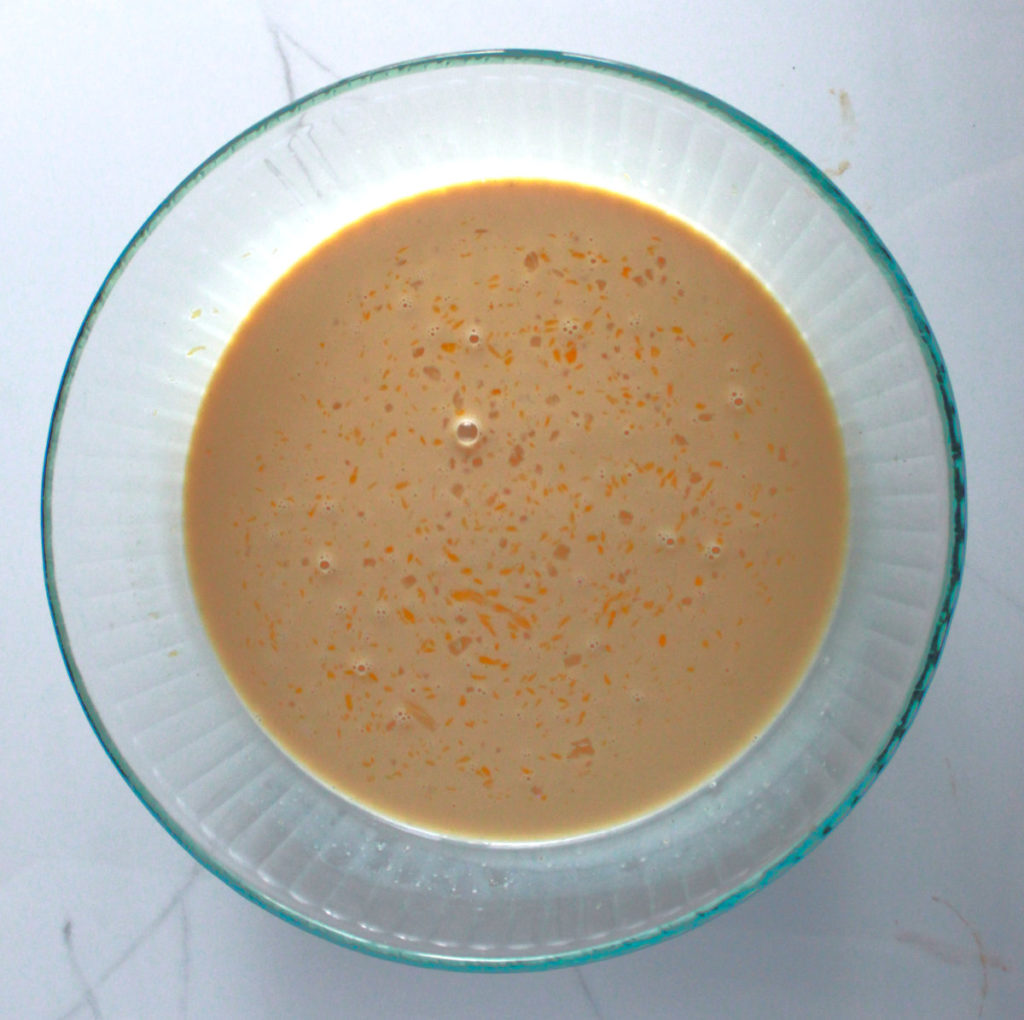
Whisk the eggs until it combines (careful not to create too many bubbles).
Combine the evaporated milk and condensed milk.
Add the vanilla extract and mix until everything is combined.
Then pour the custard mixture into the pan with caramel.
Then set aside.
Let's create a water bath. Heat water in a pot until it simmers.
Pour it into the bigger empty pan where the flan will be placed. Place the flan into the water bath pan.
Tip: If it's easier place the water pan in the oven first and then place the flan in the pan (this prevents the hot water and custard from spilling).
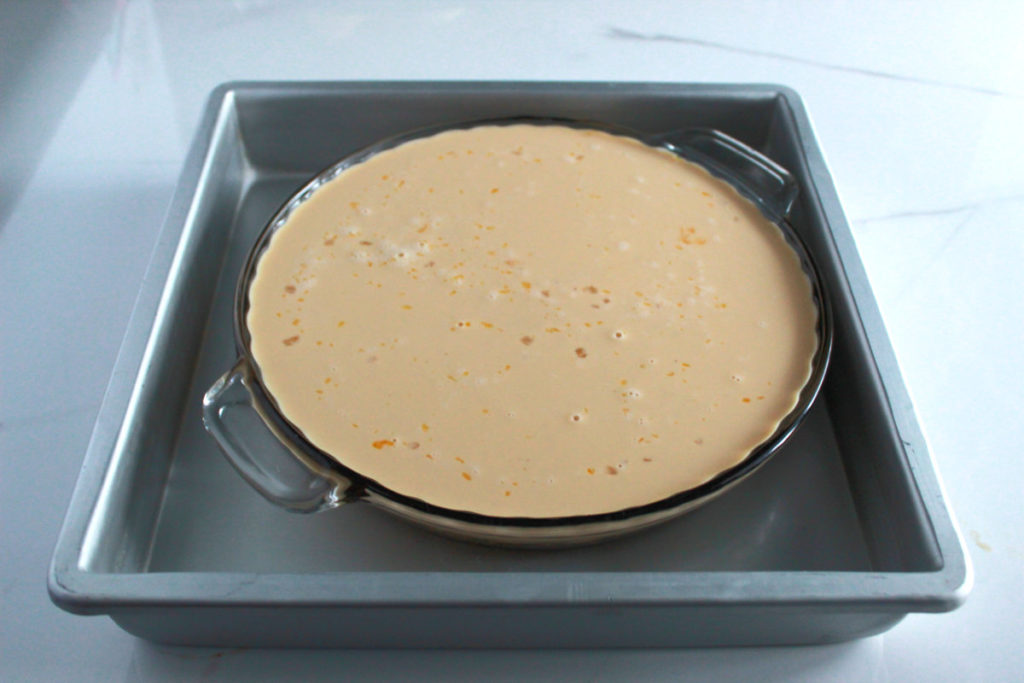
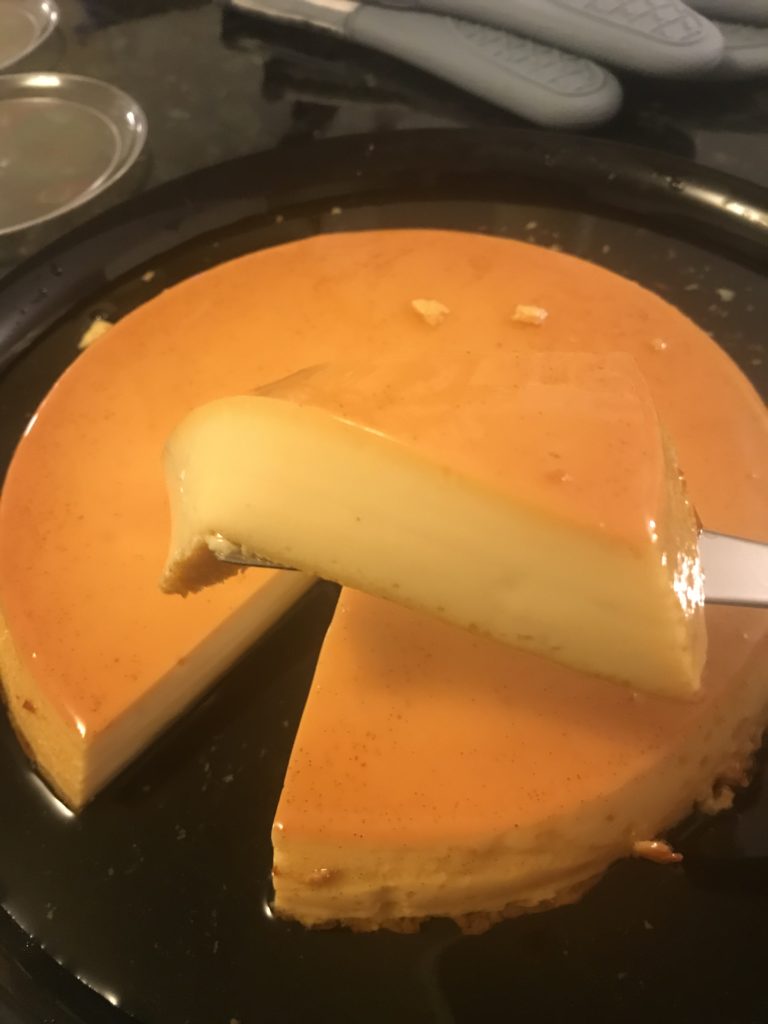
Bake for 45-50 minutes. You won't be able to tell it is cooked based on looks, but it will jiggle like solid jello when done.
Leave for 10-15 minutes to cool on the counter, then place in the refrigerator for a few hours.
Note: If you leave it too long in the oven it will create brown patches on top, immediately remove it from the oven as this is a sign you're overcooking it.
Though, I have been guilty of eating it warm 
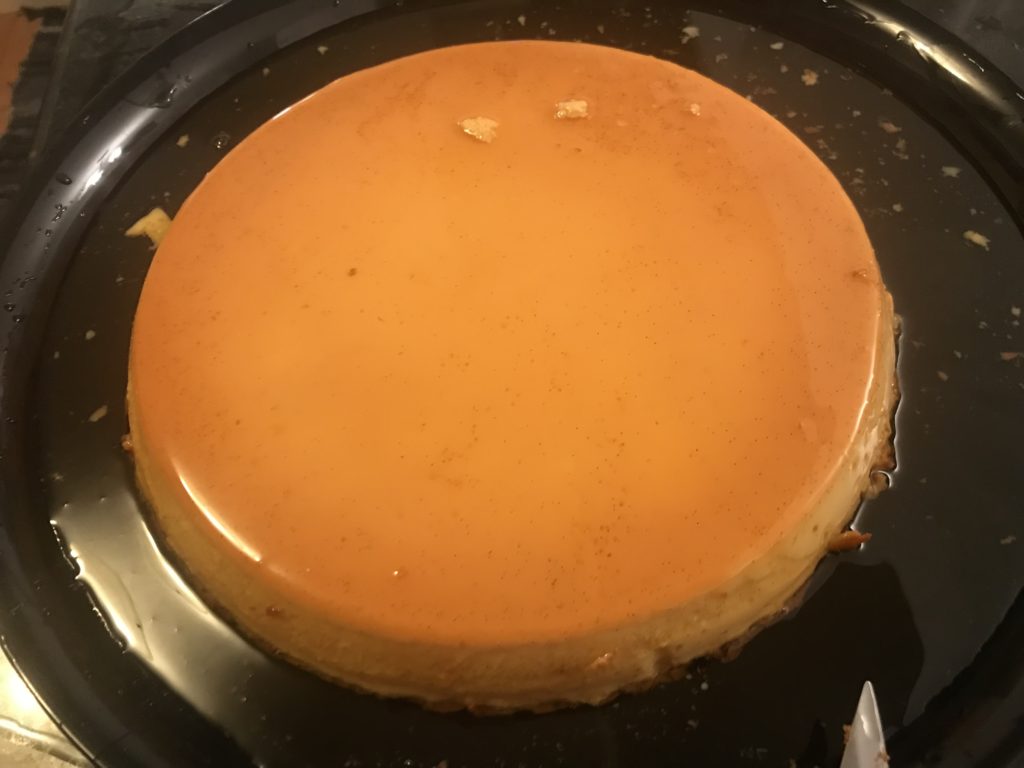
Once it's been refrigerated to cool and solidify, here comes the fun part! Let's get ready to flip the flan onto your dessert plate. Once flipped the caramel should nicely flow creating a pool of liquid sweetness.
Eat alone or dress it up with whipped cream topped with sliced strawberries (or add some of your favorite tropical fruit).
Tip: I suggest not flipping on a flat plate. Make sure the dessert plate is bigger than your pan and has a rim to prevent the caramel from spilling all over.
I love to add more caramelized syrup when serving.
I double the recipe and use half for the flan. Leave the other half in the pot and set aside for the next step. Simmer 1/2 cup of water and then pour into the pot with caramel. If the caramel hardens when water is added (this means the water wasn't hot enough and/or caramel cooled down). No worries, just heat on low until it all melts and combines. Set it aside and let it cool until you're ready to serve. It should stay liquidity.
TIP: Never pour cold liquid into a hot liquid. It will bubble and splash like a volcano science project plus sugar burns are no fun :/
Ingredients
Directions
• Bowls
• Whisk (or hand blender)
• (2) Two Pots
• Measuring Cup
• Baking Pan/Glass Pan (you can also make individual ones using aluminum/ramekin cups)
• Water Bath Pan
• Candy Thermometer (optional)
Pre-heat oven to 375F.
Gather all your ingredients (mis en place).
Let's make the caramel first! Firstly, pour the water into the pot and then the sugar.
Add the vanilla bean paste or vanilla pod.
Tip: If there is sugar that is stuck on the sides and hasn't melted into the water yet during the boiling stage. Dip a pastry brush into a cup of water and brush along the sides of the pan to melt the sugar before it caramelizes. This prevents sugar from crystallization and having a grainy caramel.
*See additional tips at the end to make more caramel syrup*
Boil on medium-high heat until caramelized (amber color) or to 250F.
Takes up to 10 minutes. DO NOT leave pot alone. It can caramelize quickly once it starts to change color.
Once it turns into a light amber color, leave it on the stove for about 45-60 seconds to get that perfect amber color (or you can check the temperature).
Remove from heat.
Tip: Don't wait until it gets too dark, the caramel will continue to darken on its own when removed from heat.
Once the sugar is caramelized, pour it into the pan.
Carefully tilt the pan side to side to cover the whole pan before it cools and thickens.
Set aside to cool while you make the custard.
Whisk the eggs until it combines (careful not to create too many bubbles).
Combine the evaporated milk and condensed milk.
Add the vanilla extract and mix until everything is combined.
Then pour the custard mixture into the pan with caramel.
Then set aside.
Let's create a water bath. Heat water in a pot until it simmers.
Pour it into the bigger empty pan where the flan will be placed. Place the flan into the water bath pan.
Tip: If it's easier place the water pan in the oven first and then place the flan in the pan (this prevents the hot water and custard from spilling).
Bake for 45-50 minutes. You won't be able to tell it is cooked based on looks, but it will jiggle like solid jello when done.
Leave for 10-15 minutes to cool on the counter, then place in the refrigerator for a few hours.
Note: If you leave it too long in the oven it will create brown patches on top, immediately remove it from the oven as this is a sign you're overcooking it.
Though, I have been guilty of eating it warm
Once it's been refrigerated to cool and solidify, here comes the fun part! Let's get ready to flip the flan onto your dessert plate. Once flipped the caramel should nicely flow creating a pool of liquid sweetness.
Eat alone or dress it up with whipped cream topped with sliced strawberries (or add some of your favorite tropical fruit).
Tip: I suggest not flipping on a flat plate. Make sure the dessert plate is bigger than your pan and has a rim to prevent the caramel from spilling all over.
I love to add more caramelized syrup when serving.
I double the recipe and use half for the flan. Leave the other half in the pot and set aside for the next step. Simmer 1/2 cup of water and then pour into the pot with caramel. If the caramel hardens when water is added (this means the water wasn't hot enough and/or caramel cooled down). No worries, just heat on low until it all melts and combines. Set it aside and let it cool until you're ready to serve. It should stay liquidity.
TIP: Never pour cold liquid into a hot liquid. It will bubble and splash like a volcano science project plus sugar burns are no fun :/
Notes
Follow Me