Being from NYC, there was nothing quite like taking a drive through Upstate and witnessing the awe-inspiring spectacle of the Fall season as the foliage transformed into a mesmerizing display of vibrant colors of reds, oranges, and browns. Fall is my favorite season of the year because of the cool weather and it’s the beginning of the holidays starting with HALLOWEEN 👻
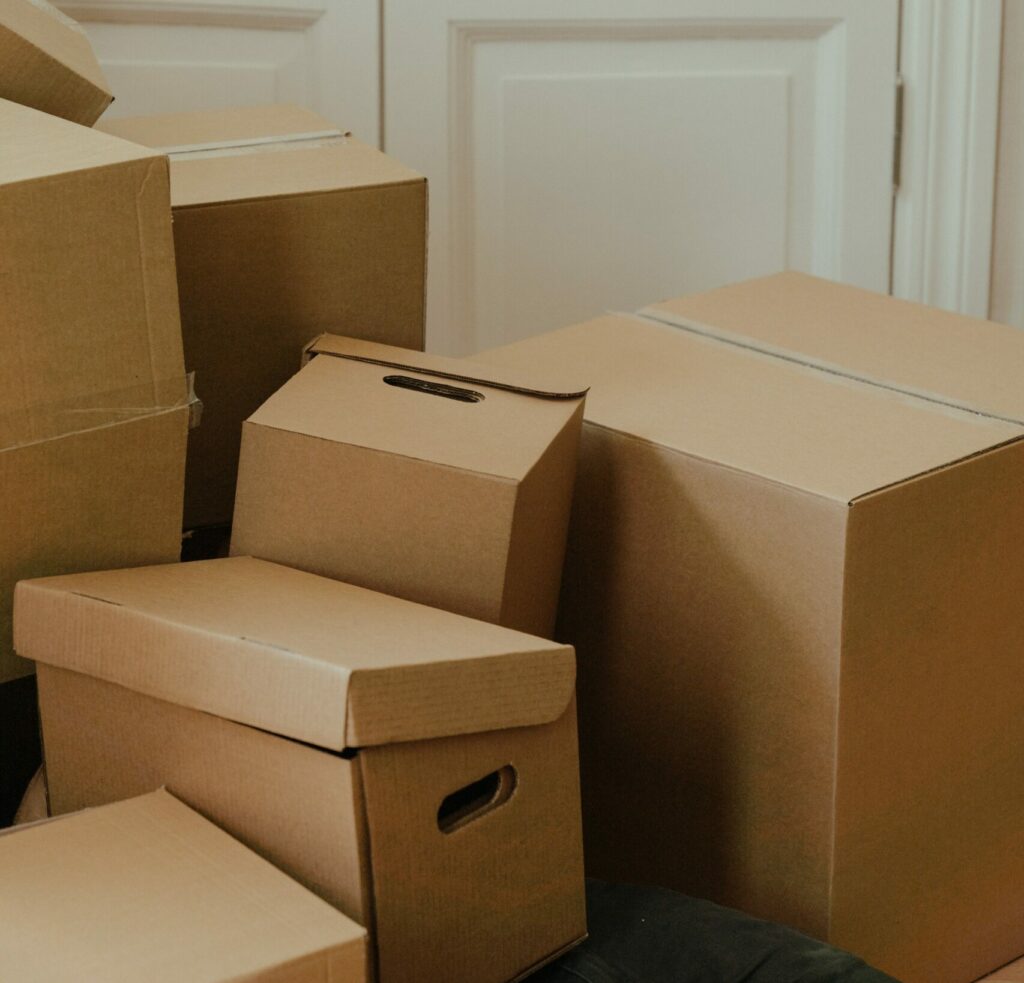
If you’re looking for some creative Halloween decorations that won’t break the bank, upcycling is the way to go. I’ve got some fantastic Halloween craft ideas that will dress up in any room and make for great arts and craft activity, especially for the kids. You know all those boxes left over from online shopping aka Amazon Prime?
Well, collect those boxes and transformed them into various Halloween monsters using just a few supplies 🎃
Here’s what you’ll need:
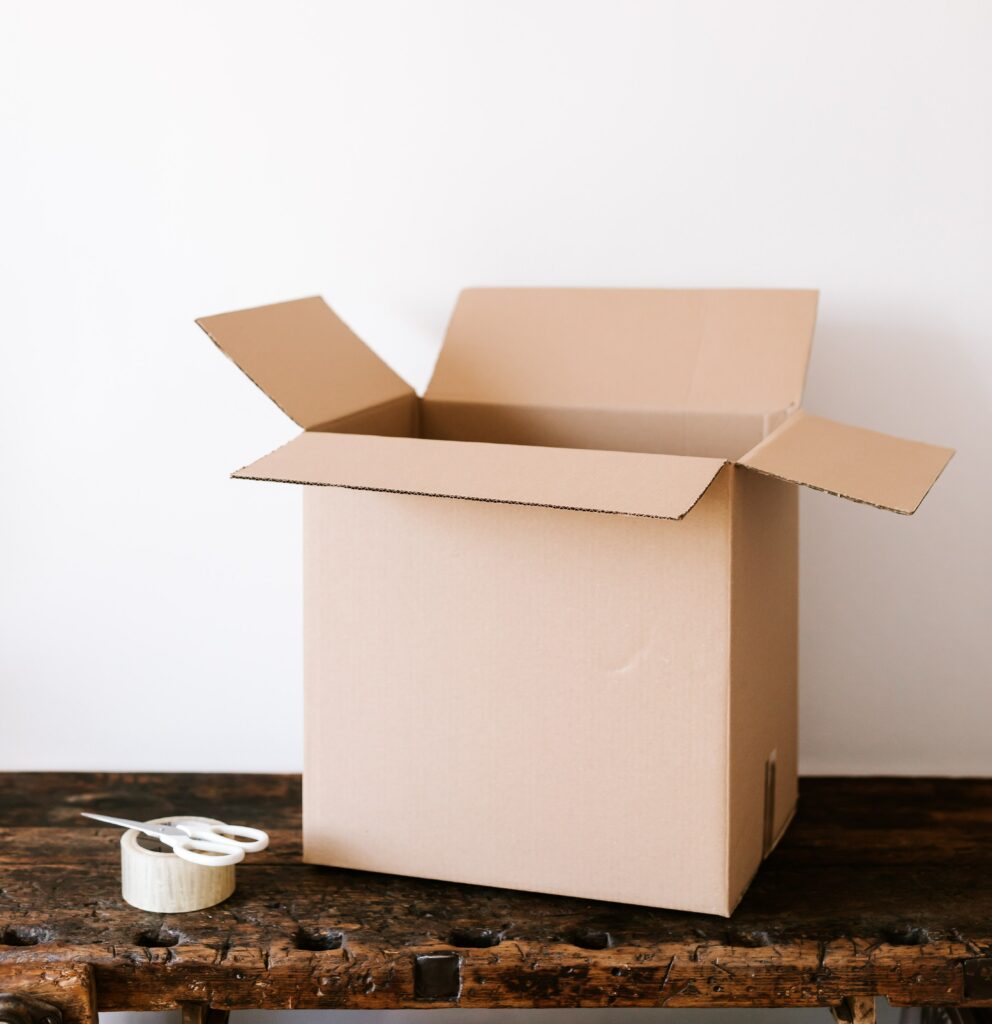
- Boxes
- Tape
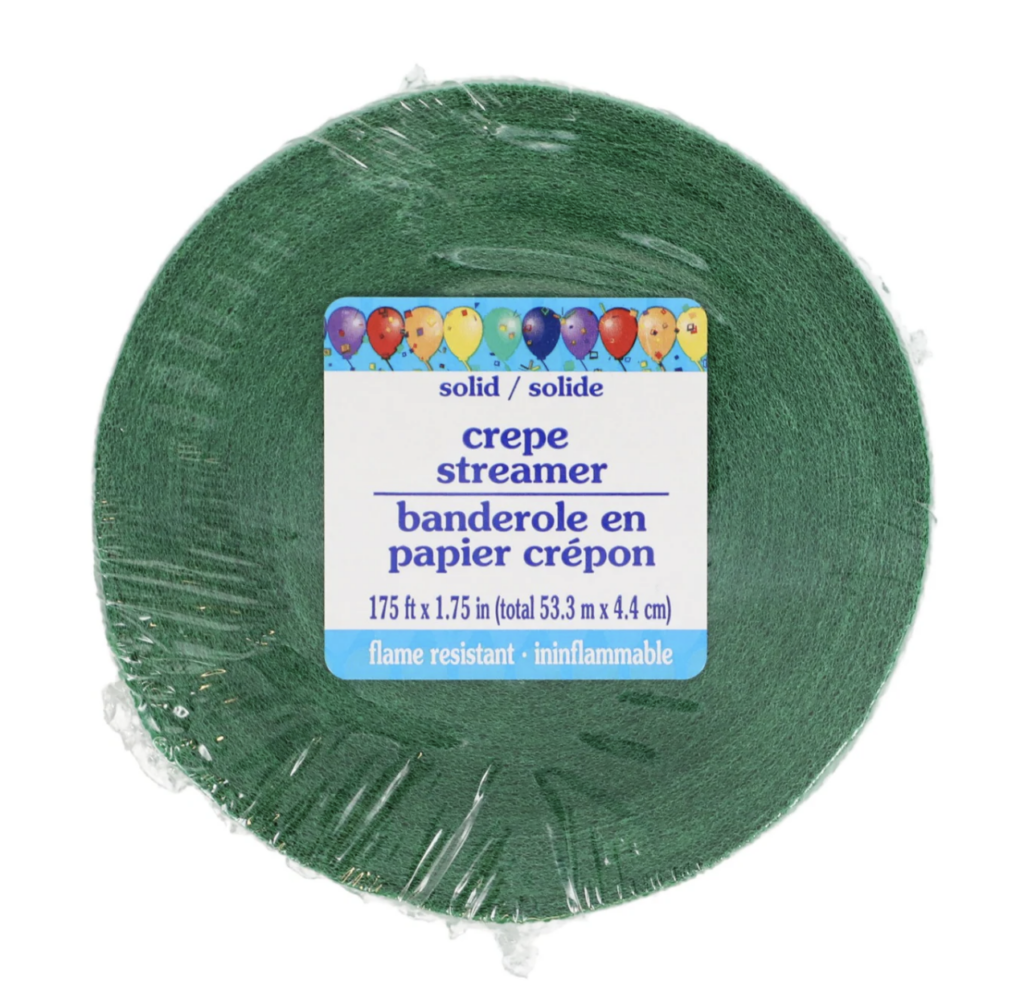
- Crepe paper roll (various colors depending on the monsters)
- Computer and Printer
- Sharpie Marker (for freehanding)
- Broom/Mop Stick or Thin Pole
- Ex-Acto/Utility Knife
- Crafters Option: Cricut machine
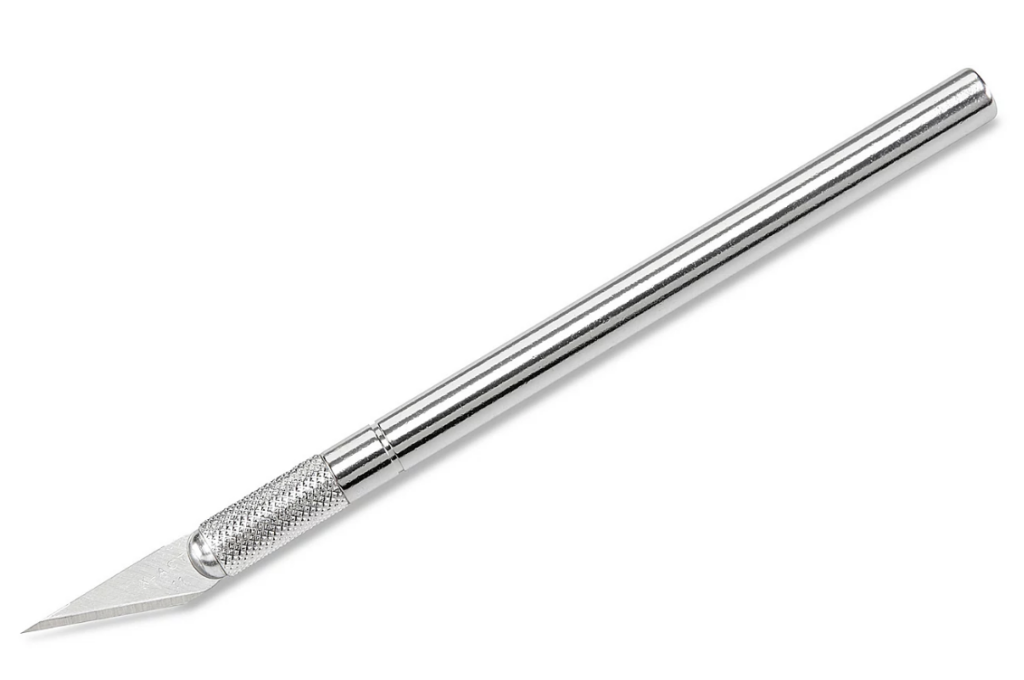

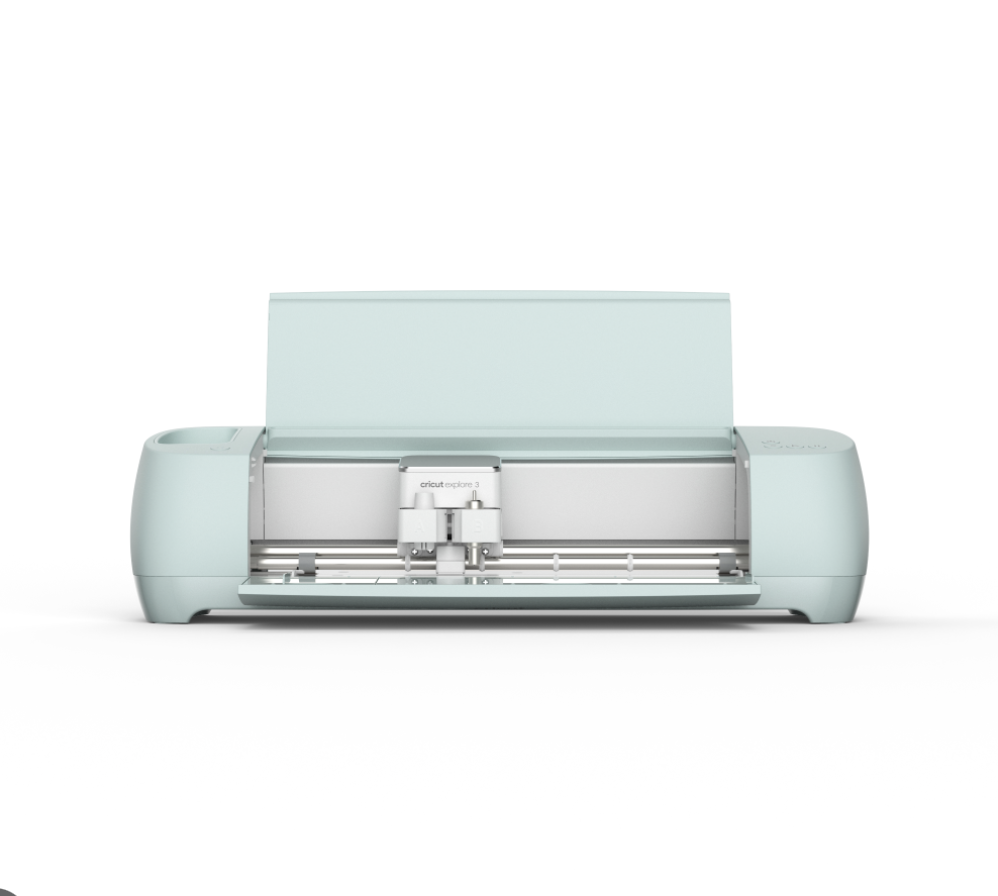

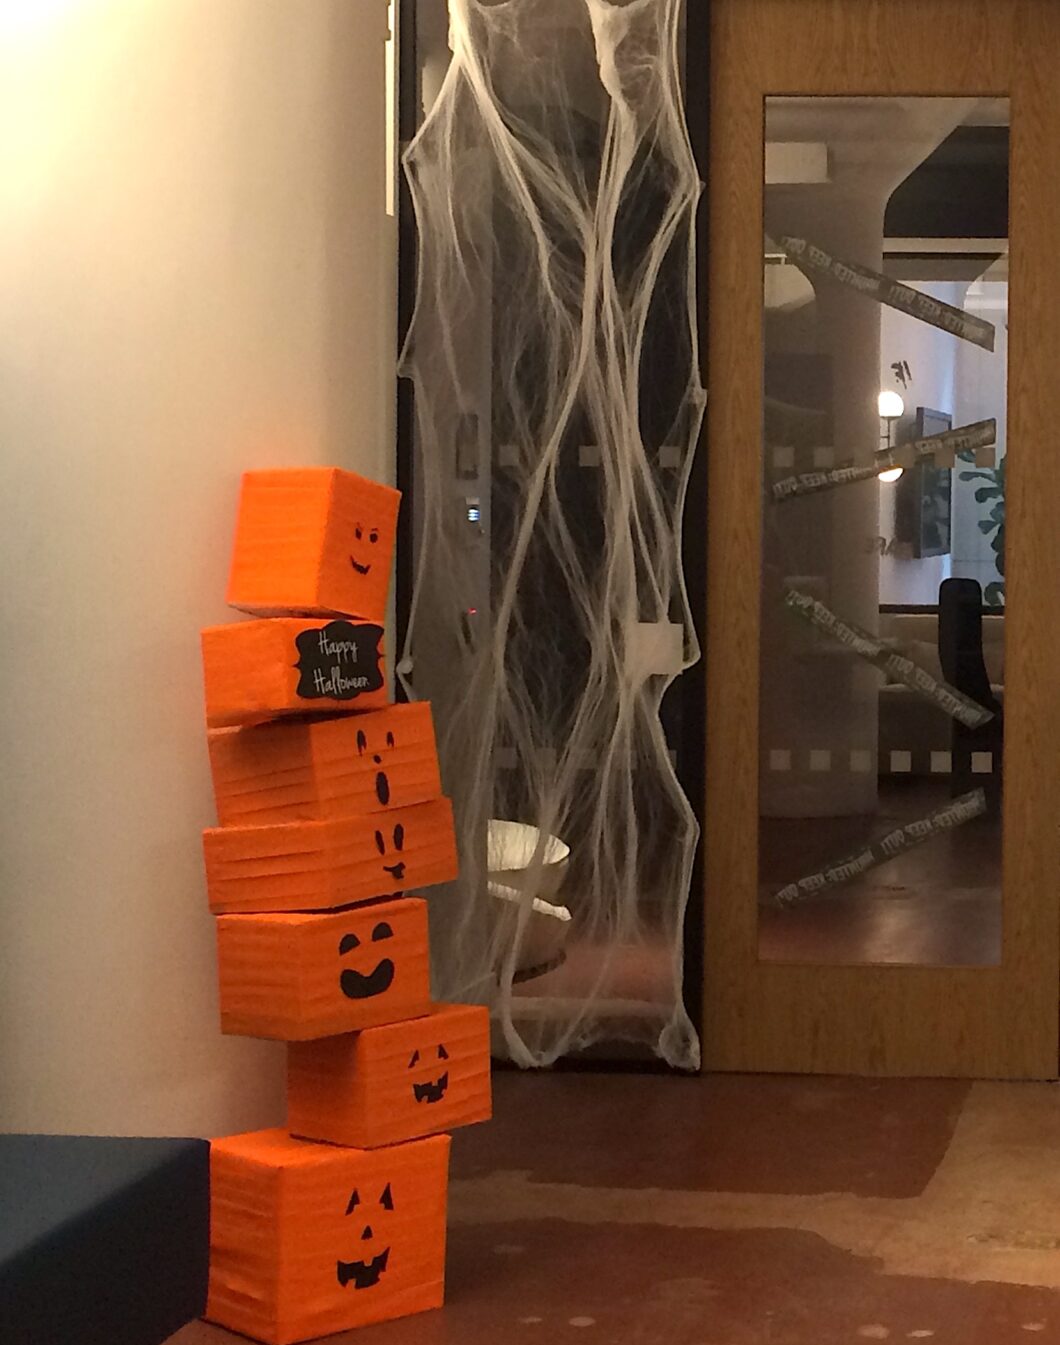
This is how I created a pumpkin stand for the entrance.
The order of the boxes determined the design of the monsters beforehand. Tape the boxes closed and cut out an X (the width of the stick you’re using) from the top and bottom of the boxes, EXCEPT the first and last box. For the first box, cut an X on the bottom part only, and for the last box, cut an X on the top part only. This is to ensure the pole doesn’t poke out of the top and provides stability from the bottom.
Next, wrap the boxes in orange crepe paper to create a pumpkin look. Decorate enough boxes to fill up the length of the stick you’re using. You can purchase a broomstick or mop from Dollar Tree/local shop.
I printed up different pumpkin expressions, cut them out, and glued them on the boxes. If you have access to a Cricut machine, it can make creating pumpkin expressions a breeze along with other monstrous faces. Otherwise, you can print out expressions or use a Sharpie marker for freehand designs.
Once you’re done, push the boxes through the stick starting from the bottom box and finishing with the top box. If you feel it’s too light for your tastes, add weights to the bottom box for more stability. Your pumpkin stand is now ready to greet your Trick n’ Treaters. at your doorway or fireplace sides! (Just a disclosure, sadly, this is not for outdoor spaces that can be affected by the weather.)
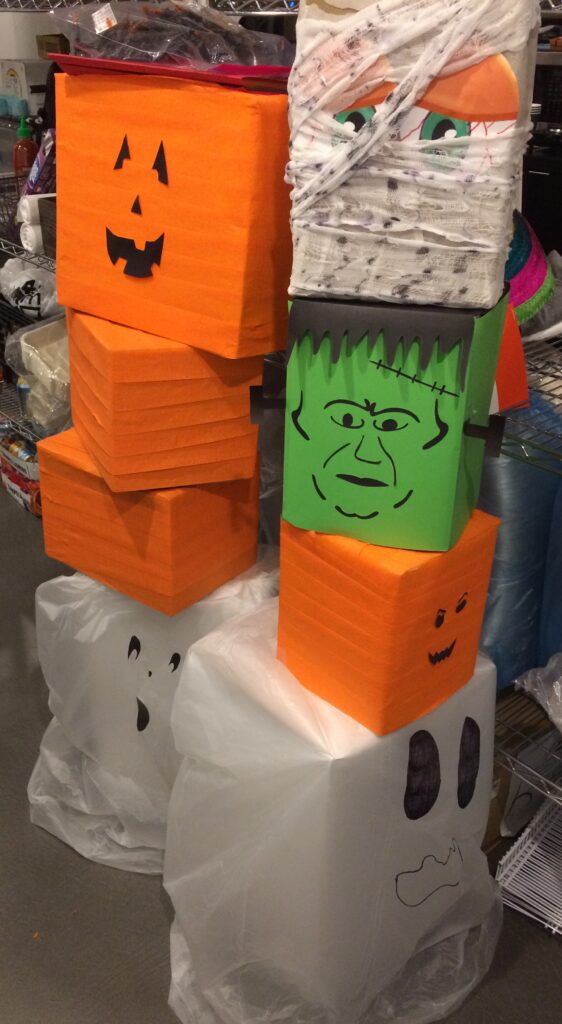
But don’t stop there 🦹 Besides the stand, you can place individual monster boxes like the 🧌, Mummy, Witch, or Ghost as table centerpieces. Add glow sticks to make them light up and give your decorations an eerie glow.
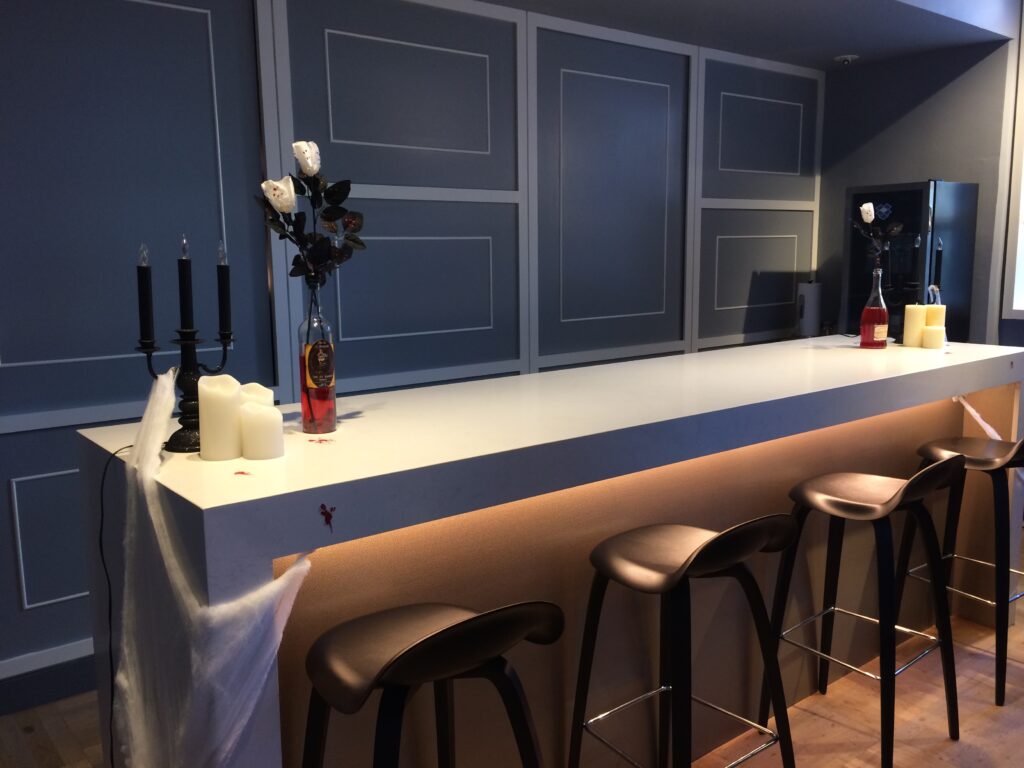
Have a bar to decorate? Here are other diy projects ✂️
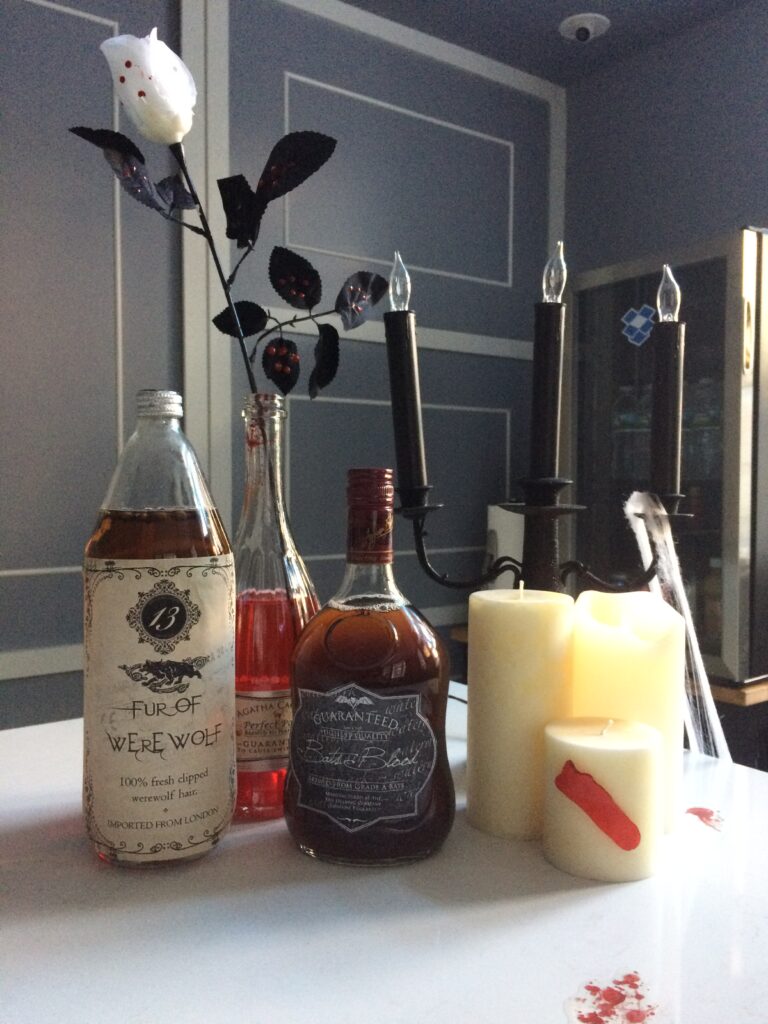
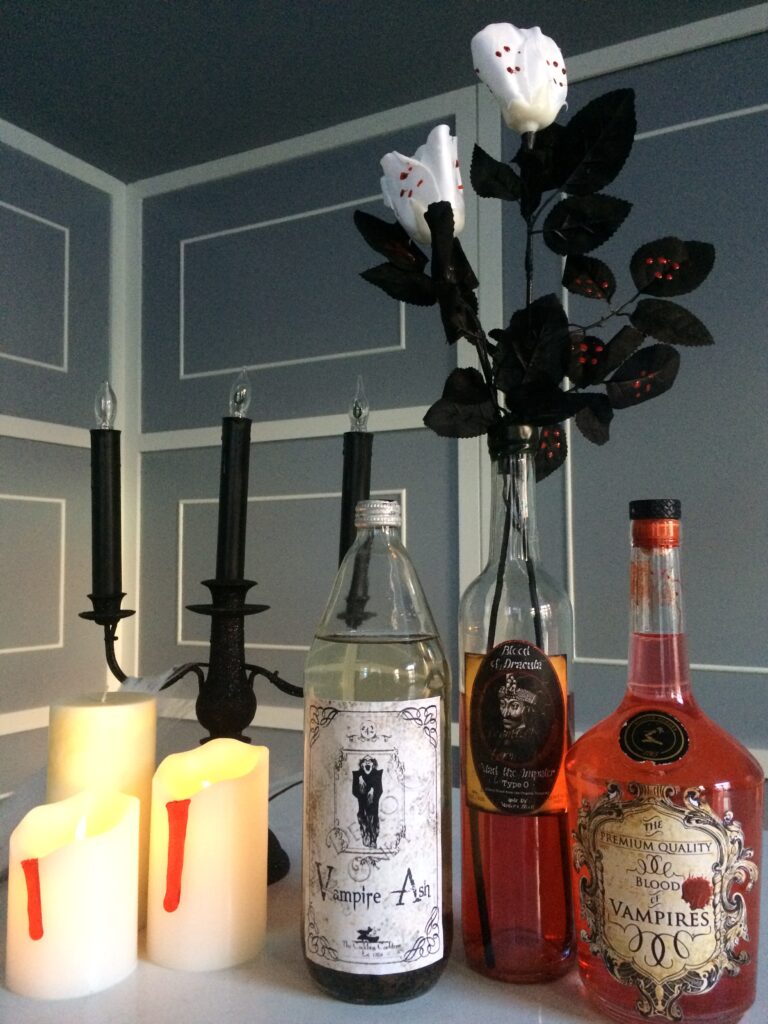
For those planning to have a bar setup, adults can have fun too! Collect distinctive beer, wine, or alcohol glass bottles and add Halloween labels to them using Canva. Get creative with drink names. For bar decoration purposes, you can fill up the bottle with water and add in red food color to make it look like blood (remember Tru Blood) or get creative with textures using loose tea leaves for the Vampire’s Ash bottle.
Decorate white plastic flower bouquets and drip them with red food color or spray/paint them red. If you have black flowers, you can drip red candle wax. Also, use the red candles to drip on white flameless candles (and those decorative bottles above.) Another design variation is to purchase those bloody gummy stickers to add a spooky touch (great if you have candles that you want to reuse and not damage)
Take it to the next step by creating tasty drinks, for Vampire’s Blood you can use Cherry Kool-aid/lemonade for the kids or Sangria for adults. I’m sure there are plenty of other mocktail and cocktail inspirations all over social media.
The best part of these upcycled Halloween decorations is that they are easy to clean up once the party is over! Have a spooktacularly fun and safe Halloween! 🧟♀️
Check out my Pinterest for more photos
